



Labels:

Thursday, November 6, 2014

It's been a long week of studying. I was so excited to lay down my head last night - and then the babe awoke full throttle! We were too tired to try remedying the situation, so we simply put her in our bed. It was a long night of a little 2' child hogging most of the bed! This past weekend, I went in to the Sleep Number store to try out the Sleep Number® bed with SleepIQ™ technology. The Sleep Number® bed is the only bed that lets you track and optimize your sleep with SleepIQ™ technology. It was incredible how the app could tell me just how much time was spent sleeping vs restlessness at night. It was a pretty neat app for anyone who is trying to improve their sleep habits. Disclaimer: I received a Sleep Number Contour Pillow for posting my review.

Saturday, July 17, 2010

As a mom of a ten month old, I find myself sneaking in a little nap whenever I can. There's so much more to do in a day, but unfortunately, the same amount of hours in which to get it done. Up until the end of spring, I was getting a wonderful, and standard, eight hours of sleep per night. Then the days started getting longer...and longer. So, I stayed up longer and longer, until I now only get six hours of sleep at night. It's not that Azra is keeping me awake at night - no, she's out like a log until 6AM rolls around. It's just that my garden needs tended to, and the book I'm reading is really good, and the bottles washed, and - did I remember to put the clothes in the dryer??

I've never been one for naps, but it's amazing how a 5-minute nap can re-invigorate you for the whole day when you're short on sleep. So, I've found myself squeezing one in at any opportune time: while nursing Azra, commercial breaks, car rides to the store while Chris is driving, and apparently, working. Since I forgot to bring my book to work today for reading material while pumping in the lactation room, I was especially bored...and sleepy. I thought to myself, I might as well multi-task and just rest my eyes for a second...

I feel so refreshed!

Note to self: Avoid leaning your head against the palm of your hand for extended periods of time. It makes hiding the fact that you just took a nap at work a little more difficult.


Friday, July 2, 2010

A few weeks back, Chris had a food day at work. Of course, he didn't remember this until 9:00 PM the night before. I just can't bear the thought of taking in baked goods from the grocery store, so I was determined to whip something up with ingredients that I have on hand. It was slim pickins from my baking pantry, but I did happen to have some lemon cake mix and Rice Krispies that I got for close to free with coupons (yippee!). I've read some delicious-sounding recipes using cake mixes, so I decided to go on the hunt for a recipe which used a lemon-flavored one. I came across a recipe which only used four ingredients:

1. Lemon Cake Mix....check!
2. Rice Krispies....check!
3. Eggs....check!
4. Butter....check!

Lemon Crisps


1 package lemon cake mix with pudding
1 cup crisp rice cereal
1/2 cup butter
1 egg

Preheat oven to 350 degrees. Melt butter; stir in all ingredients and mix well. Shape dough into 1-inch balls and place them about 2 inches apart on ungreased cookie sheets. Press flat with thumb. Bake for 9 minutes or until edges are golden. Cool on cookie sheets one minute, then remove to wire racks to cool.


Sounds easy enough, right? Well, let's play "Guess What Kylee Did Wrong." Perhaps you've already caught my mistake from the picture above. I wish I would have! The batter seemed pretty greasy, especially seeing a pool of oil around the cookies after I placed them on the sheet.


Even though they didn't look right, I proceeded to bake them "until the edges were golden." It only took a few minutes until I smelled burning. Out came these beauties:


Sadly, the whole batch got tossed in the trash can. I tried to sample just the center of the cookies, but they weren't cooked at all. In case you didn't notice from above, 1/2 cup butter is ONE stick! Grrrr! Although the recipe sounds weird even if it were to come out right, I might give these another try only because it got such great reviews. Let me know if you test these out and get better results!

Wednesday, June 30, 2010

I have always wanted to try my hand at making fondant frosting. I stumbled across a pretty great online tutorial, so I thought that I'd finally give it a shot as my sister's birthday was fast approaching.

Kelsey loves red velvet cake, but I'm not a huge fan of the massive amounts of food coloring needed. I would've loved to use beets for the coloring, but being the picky eater she is, I know that she wouldn't have gone for it. Has anyone tried this? I wonder how cakes colored with beets taste? I tried a recipe from my new bargain book ($1 from Half Price Books!), Little Cakes: Classic Recipes for Any Occasion. It was so delicious and can't wait to try all of the recipes!


My cakes came out beautiful and delicious. By the way, I learned a rather neat trick to get a cake to come out of the pan without sticking to the bottom: After removing from the oven, set the pan on a damp towel while the cake cools. Once it's time to remove the cake from the pan --- Voila!! No huge chunks stuck to the bottom!


I made my fondant in advance (it keeps in the fridge for a few weeks), which really helped out on time because the fondant took for-ev-er to roll out! You definitely need some muscles for that project!


I'm super proud of how smooth I got it to lay on the cake, but not so happy about the color. It's a little too reminiscent of the Nickelodeon green slime.


I had fondant left over and time to spare, so I decided to throw a little embellishment on the cake. It definitely made it look even more ugly than before! :) Is it just me, or does it seem like Kelsey is laughing at how horrendous it looks?

All in all, it was a fun project with yummy results. Since I made the fondant out of marshmallow, it came out more sweet than yucky like store-bought fondant. I think if I fine-tune my decorating skills, that it could actually make for a pretty nice looking cake since I like the smoothness of fondant.

If you want to see something even more ugly, stay tuned for my failed attempt at a cake mix cookie. I promise that you won't want to make these yourself!


Monday, June 7, 2010

I can finally cross another craft project off of my summer to-do list! I've been wanting to make some cute onesies for Azra for some time now. When I ran across this freezer paper stencil tutorial, I knew that I had to try it. Sure enough, it was a super simple project with super cute results!

To begin, I drew my design on the paper side of a piece of freezer paper. Make sure to recognize which pieces you actually want to cut out to paint the inside, or you'll be drawing/cutting twice as I did. Place the stencils wax side down on your fabric. To give the fabric some added stiffness, I placed a sheet of paper on the underside of the fabric as well. With your iron set on medium, iron over the freezer paper for a few minutes. It should begin sticking immediately.


Once it has set, you can begin painting. I used some acrylic paint that I had lying around, but I'm sure that fabric paint would work best. I took care to paint from the outside in, so as to not let the paint bleed under the paper.


I let the paint set for just a few minutes, then I carefully peeled off the paper to view my results!


A perfect little panda for the babe. I love the outcome and can't wait to start making tons of other designs!

Thursday, June 3, 2010

I can't believe that it has been 1 1/2 years since Chris and I last saw our friend Lisa! Although life sometimes gets in the way of friendships (kids, med school, distance), we are lucky that Lisa is one of those great friends who you can not see/talk to much, yet pick right back up where you left off. So, when we were pondering what to do for our Memorial Day weekend a mere four days prior to it, we came up with St Louis and were so excited when Lisa said that she was free! We knew that we would have a great time while we were there, but we were just a little concerned with how the 5 1/2 hour trip would go with our little lady.

Azra did surprisingly well, and thanks to Chris, we have some great photos to document Azra's first vacation:


I do love me an impromptu vacation, and I'm so glad to know that it doesn't have to end once you have kids!

Friday, May 28, 2010

My 9th grade year I went 180 days (yes, I counted) of never wearing the same thing twice. One-hundred eighty days!! I was proud of myself for the impeccable organization of my closet to insure the perfect rotation. It was the one thing I had going for me in an otherwise uneventful and scary first year at a new school. My wardrobe got me noticed. I'm hoping it was for all of the right reasons, but looking back, there was nothing "right" about the hot pink pleather pants. The cute boy in school called them my "hot pants," so, for the sake of my ego, I'll just pretend that he was indeed interested.
I loved to shop. I'm sure that I went at least once a week, and I never came home empty handed. My obsession was funded by the extra hours I put in at work, and I felt like it was a fair trade. In hindsight, I probably shouldn't have worked so hard merely for adding unnecessary clothes to my closet. Live and learn, they say. Learn, I did.

Fast forward ten years later. I still love to shop, but I rarely allow myself the opportunity. In fact, I have acquired some very strange habits to help feed my hunger for shopping. It was just this morning, as I was filling up an online shopping cart at The Gap to later delete everything from said cart (more on that later), that I actually realized I had an entirely different type of problem.
Habit #1: Window Shopping

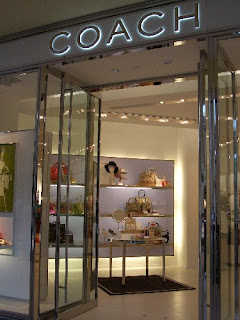
Okay, so perhaps this habit isn't an abnormal one. Just last night, I walked up to the doors of Coach, but didn't dare go in. I was like Charlie Bucket (from Willy Wonka) staring into a candy store, knowing full well that I couldn't afford what was inside. I don't need a Coach purse, nor do I have a strong desire for one. However, they are pretty and I could just picture myself walking around with one on my shoulder. I felt better for looking.
Habit #2: Try on everything in sight

I often go into a store and become overwhelmed by all of the pretty colors and soft fabrics so meticulously displayed before me. I fall in love with the whole collection, and I must have it! I begin grabbing everything that jumps out at me and walk back to the fitting rooms with more than is allowed in the room at once. I try them all on and keep anything that fits well. As I head back out into the store, something happens: one by one, I begin putting back my pile of must-haves until I'm left empty-handed. The employees, who were excited for all of the commission, are dumbfounded as I leave the store with no bag in hand.
It's like a shopping spree without spending the money. Somehow, it's refreshing.
Habit #3: Buy it all, return later.
Depending on my mood at the time, the above scenario could go very differently. Instead of returning everything to its proper place, I pile it all on the cashier table and whip out my money. At this point, both the employee and I are feeling pretty good about ourselves. She, about all the money I just spent, and I, about my beautiful new things. That is, until I get home and look through it again. Within a week, I return every single thing. Do you think they keep their commission? I sure hope so. If not, they'll probably ban me from their store in the future.
Now, this isn't a weekly occurrence, but it does happen the rare times I do go out to shop. My priorities have shifted to saving, paying off my debt, and Azra; not how good I look. With goals in sight, I can hold off on a new wardrobe. It's not to say that I don't get jealous when Chris comes home with a bag of new clothes for himself, but for now, window shopping will do.

Wednesday, May 26, 2010

Last week we finally had a get-together with some friends that we see far too infrequently. It's not like they live a few states away, but rather a few miles! We agreed that once you have kids, it's a little difficult to force yourself out of your nighttime routine. Luckily for us, we did, as we were able to enjoy some delicious cheesecake and cute moments with the kiddos.

I now have an extensive collection of magazines due to all the great free to $5 per year subscriptions that I find (like here). I scoured my large pile of food magazines and came across a recipe which I thought looked particularly delicious.


Chocolate Raspberry Cheesecake

adapted from Taste of Home


Ingredients

  • 1-1/2 cups oreo crumbs
  • 2 tablespoons butter, melted
  • 4 packages (8 ounces each) cream cheese, softened
  • 1-1/4 cups sugar
  • 1 cup sour cream
  • 1 teaspoon vanilla extract
  • 3 eggs
  • 9 ounces semisweet chocolate, melted
  • 1/2 cup raspberry jam
  • 1/4 cup fresh raspberries, pureed
Directions:
  • Place a greased 9-in. springform pan on a double thickness of heavy-duty foil (about 18 in. square). Securely wrap foil around pan. Combine cookie crumbs and butter; press onto the bottom of prepared pan.
  • In a large bowl, beat cream cheese and sugar until smooth. Beat in sour cream and vanilla. Add eggs; beat on low speed just until combined. Set aside 1-1/2 cups; pour remaining batter over crust.
  • In a microwave, melt chocolate; stir in jam and puree until blended. Stir in reserved batter just until blended. Drop by tablespoonfuls over the plain batter and gently smooth across the top. Place springform pan in a large baking pan; add 1 in. of hot water to larger pan.
  • Bake at 325° for 65-75 minutes or until center is just set and top appears dull. Remove springform pan from water bath. Cool on a wire rack for 10 minutes. Carefully run a knife around edge of pan to loosen; cool 1 hour longer. Refrigerate overnight.

Enjoy with a scoop of whipped cream, fresh berries, and cute babies.


Saturday, May 22, 2010

Last weekend, Chris and I took a trip with six of our friends to visit two other friends who moved to Bermuda last year. They were just living life in Des Moines and decided, "oh, Bermuda, why not?!" How awesome is that? I'd like to think that I have the audacity to do the same, but the truth is that deep down, I could never do it. After going off on my own to Spain for a semester, I now know the feeling of completely severing all physical ties to anyone I know. It is a completely freeing experience, but I'm nearly certain that I couldn't do it at this stage in my life. So, props to our friends, Ben and Smita, for having the courage to do something that very few of us would do (but would like to do) given the chance.

Onto the good stuff. Now, I'm no photographer, so you'll have to check out Chris' photos at a later point, but here are a few of my favs from my new camera:


We got off the plane and saw the most beautiful ocean waters that I have ever seen. The colors didn't even look real...

Even during walks along the beaches, we couldn't believe just how beautiful the place was...

(No, I'm not fat/pregnant, the dress was just billowing in the wind. :) )


The guys played golf with views like this...

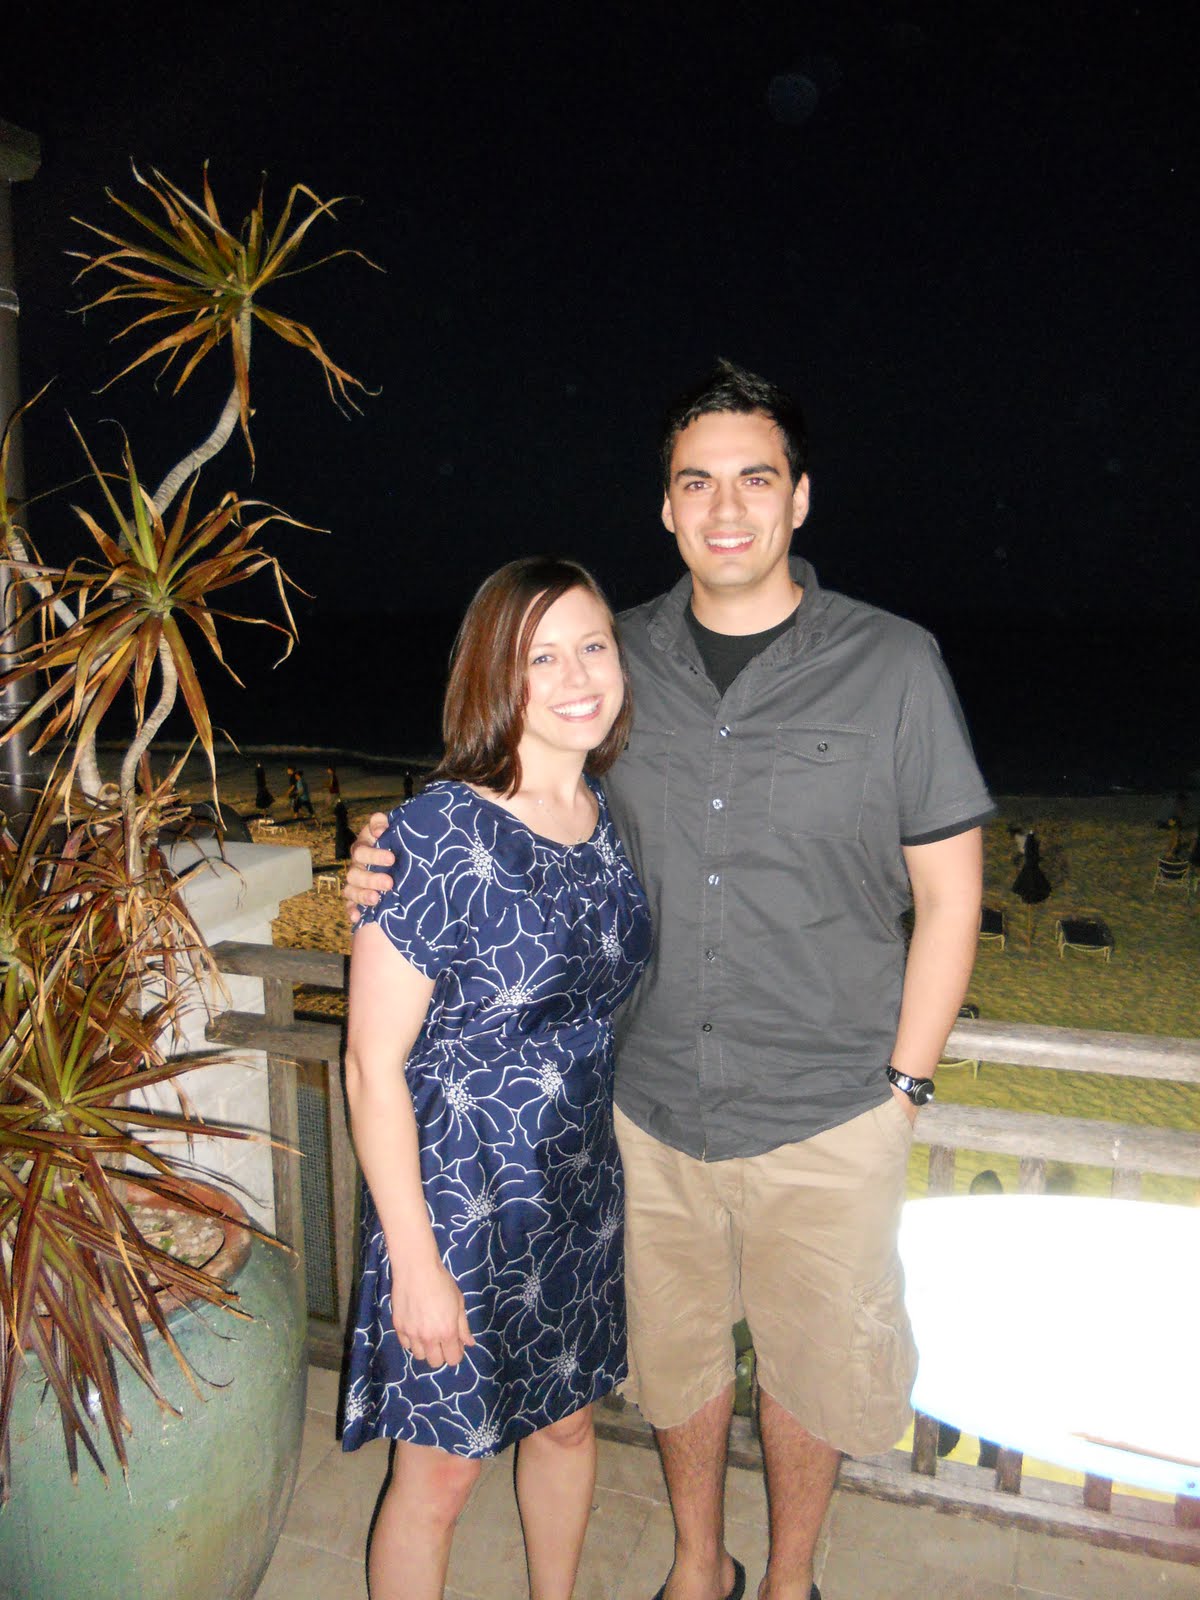
We ate dinner with the most beautiful surroundings I've ever experienced...

Even below the surface was amazing...

Chris and I are so lucky to have been able to experience such a wonderful place with such an amazing group of friends. We never could have imagined that when we packed our bags to start our adventure in Des Moines (which now doesn't seem so big in comparison to Ben & Smita's move to Bermuda!), that we would be so lucky to call these people our friends. Ben & Smita were the most hospitable hosts and made sure that we had only the best time. Between the crystal caves, snorkeling in the ocean, taking the boat around the island, or even just taking silly pictures in their apartment, I can't decide which was my favorite. It was a great trip, and I'm so thankful that I had the experience, but we were both so ready to see our baby!

So, a special thanks goes out to our friends for the visit, as well as to our parents for watching Azra, for this was a trip that we never could have experienced on our own.


Thursday, May 13, 2010


May is a month of renewal for me. I have decided to get back to what I love: writing, reading, baking, crafting, playing piano, listening to music, and being outdoors. Somehow, after the birth of Azra, I just quit doing everything that I used to find so much joy in. It's been months since I've even picked up my mp3 player! So, I'm dusting off my trusty sewing machine, bringing out the cookbooks, and getting my hands a little dirty in my fancy new vegetable garden. All while listening to a few new albums by some of my fav bands. I thought to myself, why not give the website a little face lift too? I tinkered around for a bit in some HTML language, and found out that it's really pretty fun! Perhaps I'll add "learn HTML" onto my to-do list while I'm at it.

Azra (read: Chris) decided to support my new attitude by surprising me with a fancy new camera for Mother's Day. I am now the proud owner of this pretty piece of technology:


Not only does it actually work, which is a huge step up from my old camera, but it automatically downloads all of my pictures and videos to my computer when I get home! How cool is that? Not having time to download all of my stuff is no longer a viable excuse.

Naturally, I had to put it to good use on Mother's Day by getting shots of my free Mother's Day frozen yogurt from TCBY:


My lovely new raised vegetable garden:


And of course, my beautiful baby girl:

All in all, it was a great Mother's Day and a wonderful start to a fantastic summer. You might say that here in the Brock household, "our future's so bright, we've gotta wear shades!"

Tuesday, January 19, 2010

It's been awhile, old friend. I just ate a whole big candy bar, ignoring the suggested 3 servings per bar, so I'm on a sugar high at 9PM. Normally at this time I would be slipping into my PJ's and a pair of my fancy novelty socks, packing my lunch, and jumping under the layers of warm covers in my terribly uncomfortable bed. Instead, I sit in the living room writing to a dwindling crowd of readers (crowd? I should be so lucky!), ready to punch my laptop right in the money-maker since my "s" key must be forcefully pushed in order to result in an "s" appearing on the screen.

I've been keeping terribly busy with adjusting to my new life. By busy, I mean frazzled. Who would have thought that having to feed a baby every 3 hours would leave not much time to get things done in between feedings? I feel like I am feeding her all night until I'm able to get her in bed and have 30 minutes to myself to clean and pack up for the next day. I felt so proud of myself for actually finishing a project this weekend that I'll ignore the fact that it took me four weeks to even think about starting it.

For some odd reason, we were recommended a dog kennel that was far too large for a Shiba Inu. Our 20 lb Lola was sure enjoying her space in a kennel big enough for a lab, but it was taking up too much space in the living room and Chris preferred switching out the eyesore for one we could hide behind the couch. I was so excited about finding the perfect sized kennel on Craigslist, that I didn't realize that Lola might not be as excited to lose the only home she's known. We've had her new kennel for about a month and she had yet to step foot in it. I thought that if I made it a little more comfy, then perhaps she would wander in there on her own for a little siesta.

There was a great sale at Hancock Fabrics last week, so I picked up a roll of foam and some clearance fabric. I cut the foam to be a foot high on the sides and to cover the bottom.


I then covered the sides with a soft cotton fabric and the bottom with a durable corduroy. I added some velcro to the corduroy in order to make it removable and washable. It was a quick 1-hour project that may not look perfect, but it gets the job done. After placing the finished project in the kennel, Lola waltzed right in and took a nap.


Tuesday, December 15, 2009

Monday marked the beginning of my first full week back at work. It was a bittersweet event. Obviously I would miss Azra during the day, but I was also longing to get out of the house and be around people again. I missed my coffee breaks with co-workers and actually stepping foot outside to get some fresh air. Late fall is just not a great time to be home with a newborn. There were only a handful of days that weren't too windy, cold, or rainy in which to take Azra outside.

I eased into the transition back to work by going in part time last week. It was so nice to be back, that I actually had to remind myself to miss Azra. That sounds terrible, I know, but it was a much needed break after three months. However, now I'm no longer forgetting to miss her, but rather remembering how great it was to be around her all of the time. I could barely pull myself away from kissing her squishy little cheeks before I dropped her off!


But then again, who couldn't resist those big blue eyes and silky soft cheeks?!

Now that I'm back, the guys were pestering me to bring in treats to mark my return. I had every intention of bringing something delectable into work. So much intention that I actually baked something and boxed it up to bring the next morning. Only problem? It never made it out the front door!


Andes Creamy Mint Brownies

Photo and Recipe Courtesy of Tootsie.com

Brownies:
1 pkg fudge brownie mix (eggs, oil and water, according to package)
1/2 cup Andes Mints, chopped

Topping:
4 squares white baking chocolate, chopped
1 1/4 cups heavy whipping cream, divided
1 tsp vanilla extract
2 Tbsp sugar
1/2 cup chopped Andes Mints, divided

Directions
Preheat the oven according to brownie box. Lightly grease a 9x13 baking pan. Prepare the brownie mix as directed; stir in chopped Andes Mints. Pour the batter into the baking pan and bake according to package directions. Cool in baking pan completely.

In a saucepan, combine white chocolate and 1/4 cup heavy whipping cream. Cook over low heat, stirring constantly until smooth. Remove from heat and stir in vanilla extract. Refrigerate 30-40 minutes or until chilled. In a mixing bowl, beat heavy cream, gradually adding the 2 Tbsp sugar until stiff peaks form. Gently fold into the chocolate mixture then add 1/4 cup Andes Mints. Spread over the brownies and sprinkle with the remaining 1/4 cup of Andes Mints. Refrigerate.


I must warn you that the last part is vital to the taste of the brownies. For some reason, neither Chris nor I were wowed by the brownies when they were complete. However, after letting them sit in the fridge for a few hours definitely did them good. The homemade whipped cream and the fudge with a hint of mint really stood out once it was chilled. Someday I might make these again to take into work, but this batch is staying right here with me.

Tuesday, December 8, 2009

Des Moines is being hit by a snow storm tonight, and being bundled up all day left me craving hot chocolate. We usually buy the packaged stuff that you mix with water, which is hardly appealing come to think of it. I didn't have any on hand, and I wasn't about to head back out and brave the weather. How about homemade?! It's cheap, easy, and tastes even better than the super-sugary packet stuff. Here's what I came up with:

Peppermint Hot Cocoa
(serves 2)


4 Tbsp water
4 Tbsp sugar
3 Tbsp unsweetened cocoa powder
1/8 tsp peppermint extract
2 cups milk

Whisk the first four ingredients over low heat in a small saucepan until the sugar and cocoa is dissolved. Pour in the milk and heat until hot. Enjoy - it's that easy!


I played around with it a bit, with the above being my favorite version so far. I think I might try melting some chocolate chips in it to make it a little thicker, or even swapping cinnamon for the peppermint. The main goal was to have something simple that is made from ingredients I always have on hand. I'll now be adding hot chocolate to my list of things I'll only make homemade.

Monday, November 30, 2009

Okay, that's a super corny title - but fitting! Last week I decided to try picking up a few new-to-me vegetables. I'm trying to remember to buy what's in season in order to keep my grocery bill down (read here for some other helpful hints from Sarah). So, I came home with a spaghetti squash and butternut squash in my ugly reusable grocery bag. The only problem: I had no idea what to do with them! After a few searches, I found a butternut squash recipe that I just happened to have all of the ingredients to, so of course I had to try it!


Mashed Butternut Squash and Pears
Adapted from: Food Network

1 large butternut squash
2 Anjou pears
4 Tbsp unsalted butter
1 tsp vanilla extract
2 1/2 Tbsp brown sugar
1 tsp ground ginger
Salt and pepper, to taste

Preheat the oven to 375 degrees. Cut the squash in half lengthwise and remove the seeds. Peel the pears, cut in half and remove the core. Place the pears and squash, cut side up, on a foil-lined baking sheet.

In a small saucepan, over low heat, melt the butter. Whisk in the vanilla extract, brown sugar and ginger, and remove from the heat. Brush this mixture onto the squash and pears, then season with salt and pepper. Set the remaining mixture back over low heat. Roast the squash and pears until soft, about 45-60 min (mine went 55 min), when a knife can be inserted easily into the flesh. Scoop out the flesh of the squash and place into a large bowl with the pears. Mash them with a fork and stir in the remaining butter mixture.


So, the mash may not look all that appetizing, but I promise it was delicious! It had the sweetness from the brown sugar, but all of the nutrients of the squash that you just can't find in a regular old potato. The pears added a nice and unexpected touch. I could eat this stuff every night!

And while I was waiting for the squash in the oven, I decided to try another recipe that would help clean out my fridge. I saw cream cheese frosting (which I never have on hand, but I had a coupon that made it free!) and some leftover carrots. Carrot cupcakes? I think so!! Only problem? The recipe called for whole-wheat pastry flour. What the heck is that? I did have some healthy flours leftover from my homemade protein bars. However, I have yet to label my fancy flour containers, so regrettably I cannot tell you what I added! I'm guessing that it was spelt flour. Lesson here - it seems that any wheat flour will do as they turned out delicious!


Carrot Cupcakes with Cream Cheese Frosting
Adapted From: Food Network


3/4 cup spelt flour
1/2 cup all-purpose flour
1 tsp baking soda
1/4 tsp salt
3/4 tsp ground cinnamon (I love this stuff!)
1/4 tsp ground nutmeg
1/4 cup vegetable oil
3/4 cup firmly packed light brown sugar
2 large eggs
1/2 cup natural applesauce
1/2 tsp vanilla
1 1/2 cups finely shredded carrots
1/4 cup finely chopped walnuts

Preheat the oven to 350 degrees. Line 12 muffin cups. Sift together the first 6 ingredients. In a large bowl, whisk the oil, brown sugar and eggs until well combined. Whisk in the applesauce, vanilla and carrots. Add the dry ingredients and mix until combined. Stir in the walnuts. Divide the batter between the muffin cups and bake about 20 minutes, or until a toothpick comes out clean. Transfer to a wire rack and cool.

Thursday, November 19, 2009

It has been one year this week since we moved into our first house. Not only were there ups and downs in the house searching process (a cinder block house, a haunted one, and even one with the world's first microwave), but in home owning as well:

  • We moved into the house hoping to take nice warm bath, but discovered that our lovely white tub was actually spray painted (remember this?) and bubbled when hot water hit it. After many, many, many hours of scraping the tub (thanks mom!!), we can now enjoy a relaxing bath.
  • We found ourselves shop vac-ing up buckets of water from our basement drain, only to find out that we had a collapsed sewer line. We chose the short-term solution for now and are holding off as long as we can to fix it due to the $10,000 price tag to replace it.
  • We also survived our first winter in a house without insulation by wearing layers upon layers of socks, slippers, hoodies and robes, but still found ourselves freezing! Seriously. It was a constant 55 degrees in our great room - if we were lucky!
So, what did we do for our house after it has done so much for us?? We bought him a new coat (in the form of insulation in the attic), and a face lift (in the form of many, many gallons of paint throughout the house). This month's project was the great room. We have been dying to get this makeover underway, but we could not settle on what we wanted. Finally, with my parents coming to town for a few days, I took the reins and made a plan. We wanted something that was classic and we could easily update with the new "in" accent colors to keep it fresh.

The Before: It was a BLANK slate. The only color in the room was the fireplace and matching carpet, and while we don't yet have the funds for new carpet, we could do something about the fireplace and walls.

Note: Previous owner's furniture

The AFTER: A tan color on the walls, rich chocolate brown drapes (thermal backed to keep the cold out), and a drastically different fireplace (I'm still not sure about the color, but it's growing on me) really warmed up the room. A $3 garage sale mirror and $5 can of brown paint from the mistint section at Lowes = a lovely addition to set apart the two spaces.


We also moved in our bookcase from our old office (now nursery) and transformed it into a dining room-ish display on the top, with our "junk drawer" in the bottom. I shopped around my house for things to display, and while I admit that it's not all that stunning, it is a heckuvalot better than the junk that used to be stored in the open shelving. Plus, I can still keep all of my odds-ands-ends hidden in the bottom half thanks to Chris' brilliant idea of lining the see-through glass doors. I shopped around my house again and found some wrapping paper that looked modern and still enabled us to see the etched detail in the glass. It may have been a free makeover, but it made a big impact nonetheless!


The BEFORE: Again, it was a super plain and boring space and even though the room was cold in the winter, we could at least try to warm it up with color and fabric.


The AFTER: Some Craigslist furniture, more drapes, and no more ugly blinds on the French door took the space from bland to cozy. We're still looking for the perfect art to hang on either side of the window, and a new end table, but it is definitely an improvement.


Besides all of the great aesthetic changes, my dad also donated his talent by ripping down all of the trim to insulate behind the wood work as well as properly rehung the doors. In addition, we stuffed some old blankets up the fireplace to stop any airflow there. We now have less cold air coming in and less warm air escaping. While the robe and slippers were comfy, our new great room is cozy even without all of the layers.

Monday, November 9, 2009

This was our second Halloween here in Des Moines, but this year was the first that we actually celebrated. Last year was spent with Chinese food and an episode of Ghost Adventures in the loft. Some might think this was a pretty uneventful way to spend Halloween - and they'd be right. The Chinese food was sub par at best, and halfway through the night long Ghost Adventures Live episode, we found out it was all a hoax. BOO!

Now that we have a child, we can actually participate in trick-or-treating without strange looks! Only we couldn't participate in trick-or-treating, but rather begging. The Des Moines area celebrates two holidays for some reason - Halloween and Beggar's Night. The latter is very similar to the trick-or-treating on Halloween night back in Nebraska. Rather than say "trick-or-treat," beggars are supposed to do a trick or joke in return for a treat. Des Moines is apparently extremely proud of this as all you hear on the radio or read in the newspaper is about how you'd better have your joke ready for Beggar's Night. I can appreciate how the native Des Moinesians are attempting to keep the tradition alive, but it doesn't seem to be working. We spent Beggar's Night at our friends' house and most of the beggars would fore go the joke and go straight for the candy bowl.

We decided to take our little ones out to beg at a few houses to tell a joke or two (probably more so for candy for us to eat rather then their first experience in a costume). Azra went as a banana, but I can't say that she enjoyed it too much:


Once she was next to her boyfriend Cavan, then she was much more content:


All-in-all it was a good night, and Halloween night at another friend's house was fun as well. However, an eve to the eve of All Saints Day seems to be a little unnecessary. Let's just stick to good ol' Halloween.